So, I’m always, and I mean always, forgetting my pills. It’s a real pain. You’re out, you’re busy, then BAM! That little nagging feeling – did I take them? Did I not? Ugh. I’ve tried those little plastic pill boxes, you know? The cheap ones. They either pop open in my bag and spill everything, or they’re just too bulky. Not a fan.
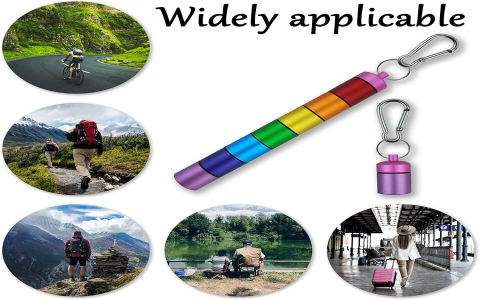
I figured I needed something I couldn’t easily forget, something attached to my keys. A silicone pill holder keychain! Sounded perfect. Soft, quiet, unlike those jangly metal ones. I had a look online, and yeah, you can buy them. But where’s the fun in that? Plus, some were pricey for what they are, or the good ones had crazy shipping times. So, I thought, I’ll just make one. How hard could it be, right?
My Silicone Adventure Begins
First up, getting the silicone. I thought, oh, I’ll just grab some food-grade stuff. Easy. Popped down to the craft store. They had silicone, alright, but mostly for making big molds for resin or whatever. Not exactly what I needed for a tiny little pill holder. Ended up ordering some of that two-part silicone putty online. The kind you just knead together and it sets. Seemed straightforward.
My grand plan was to make a tiny mold first. I got some modeling clay, shaped a little pill-sized pod, and then tried to press the silicone putty around it to form the mold. Big mistake. Trying to get that tiny piece of clay out of the set silicone without tearing the silicone mold to shreds? Nearly impossible. My first attempt looked like something that had been run over. Twice. Total disaster. Chucked it in the bin.
Okay, new plan. Forget the mold. I decided I’d just shape the silicone putty directly. Mixed up a small blob – it gets surprisingly warm when you mix it, which is kinda cool. Rolled it into a little sausage, then sort of pinched and smoothed it into a tiny pocket shape. Had to leave an opening for the pills, obviously. This stuff sets pretty quick, so I was fumbling around, fingers all sticky. It wasn’t pretty, let me tell you.
For the “lid,” I wanted a little flap that would just tuck in. So, I made another tiny, flat piece of silicone. While the main pod bit was still a bit tacky, I squished the flap onto one edge. Hoped it would bond. It sort of did. Good enough, I figured. Then, before it fully cured, I poked a hole near the top with a toothpick – that was for the keychain ring. Had to be careful not to make the hole too big or too close to the edge and risk it tearing.
Why I Bothered With All This Mess
You might be thinking, why go through all this hassle for a tiny pill holder? Well, let me tell you about this one time a few months back. I had this super important work meeting. Like, career-making-or-breaking kind of important. And halfway through my presentation, I got that awful, fuzzy-headed feeling. My heart just sank. I’d left my pills on the kitchen counter. Again. The rest of that meeting was a complete blur. I was just struggling to keep it together, smiling and nodding, while inside I was a wreck. It was beyond embarrassing. Right then and there, I swore I’d find a solution. No more relying on my brain that clearly has more holes than Swiss cheese. So yeah, spending an hour wrestling with sticky silicone? Seemed like a fair trade to avoid another disaster like that.
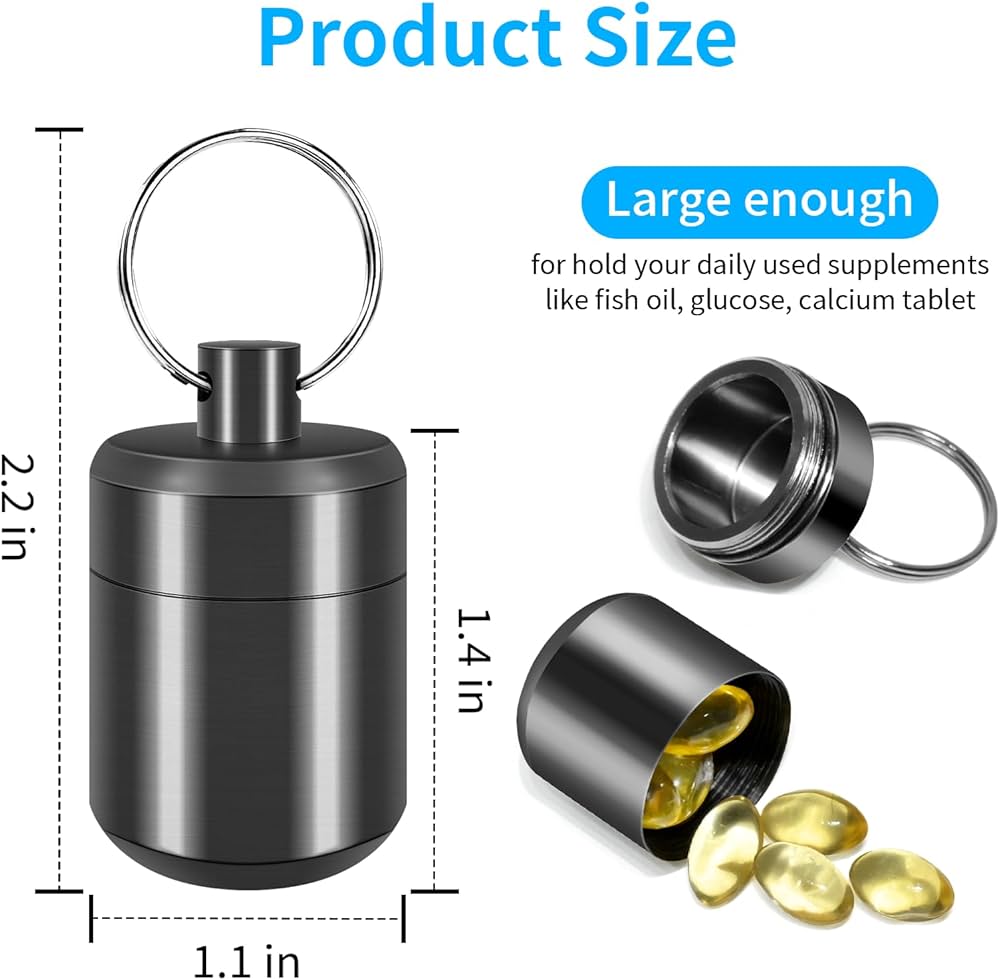
So, How Did It Turn Out?
After letting the silicone cure for a few hours, I had my first pill holder. It was… well, it was functional. Definitely not winning any beauty contests. A bit lumpy, the lid didn’t close as snugly as I’d hoped. It was a bit, shall we say, rustic.
But I learned a few things. So, I made a second one. This time, I was a bit more careful with the shaping. Used a tiny bit less silicone so it wasn’t quite so chunky. And for the lid, I made the flap overlap a bit more, so it friction-fits into the opening much better. The toothpick hole for the keychain ring worked out perfectly. Just threaded a small split ring through it, and voila!
If I ever make another one, which I probably won’t unless this one disintegrates, here’s what I’d think about:
- Maybe try to find a super tiny, pre-made mold. Or get someone to 3D print one? Nah, that’s too much faffing about.
- See if there’s a smoother type of silicone putty. This stuff really shows every fingerprint and lump.
- Practice making tiny things! It’s way harder than it looks to get things neat when they’re minuscule.
But honestly? It works! It’s small, it’s soft, it doesn’t clank against my keys, and it holds a couple of emergency pills. Right where I need them. It’s not perfect, it’s a bit wonky, but it’s mine. I made it. And every time I fish my keys out and see that slightly misshapen little blob of silicone, I remember that awful meeting, and I feel a tiny bit smug. Problem solved, my way.
Sometimes the homemade, slightly rough-around-the-edges solutions are the best. They’ve got a story, you know? And this little guy definitely keeps me from having another one of those days.


