Okay, here’s my blog post about “Give Puse ECU”, written from a personal, hands-on perspective:
Alright, so the other day, I decided to tackle this “Give Puse ECU” thing. I’d heard some chatter about it, and figured, why not give it a shot? My car’s been acting a little sluggish, and I’m always up for some DIY tinkering.
Getting Started
First things first, I needed to find the ECU. For those who don’t know, it that is Engine Control Unit. Now, in my car, it’s tucked away under the dashboard on the passenger side. Had to contort myself a bit to get to it, but eventually, I spotted it.
I carefully disconnected the battery. Safety first, folks! You don’t want to be messing around with electronics while the power’s still on.
The Process
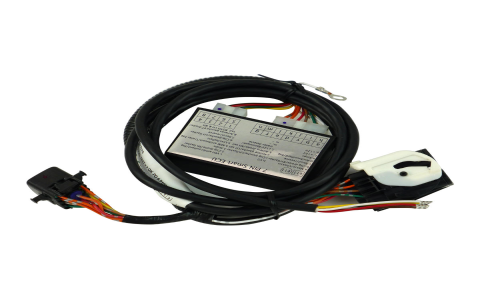
Then from there, I found that I needed a special tool. I found and bought it online. So after the tool arrived, I opened the package and connected the tool with my car’s ECU. It is very important to make sure it is connected.
Then I started to upload the file. I clicked the ‘upload’ button, and waited.
Fingers Crossed
The waiting game is always the hardest part. It felt like forever, but it was probably only a few minutes. I just sat there, staring at the progress bar, hoping I hadn’t messed anything up. I am not a pro, I knew there were chances of failure, but luckily.
Success! (Hopefully)
Finally, the upload was successful! I carefully disconnected everything, reconnected the battery, and turned the key. The engine started right up, which was a good sign!
I took the car for a spin around the block. Honestly, I felt a bit of improvement. The car is more responsive, and just feels a little smoother. It’s not a night-and-day difference, but it’s definitely noticeable.
So, that’s my “Give Puse ECU” adventure. It wasn’t too complicated, and it seems to have given my car a little boost. If you’re comfortable with some basic car maintenance, it might be worth a try! Just remember to be careful and double-check everything you do.


