Getting Started – My First Attempts
So, you wanna know how I figured this out? It wasn’t like I just woke up one day and bam, perfect shot. Nah, it was a lot of trial and error, mostly error at the beginning, if I’m being honest. I remember thinking it would be easy, just point and shoot, right? Wrong. My first few tries were, let’s just say, not keepers. At all.
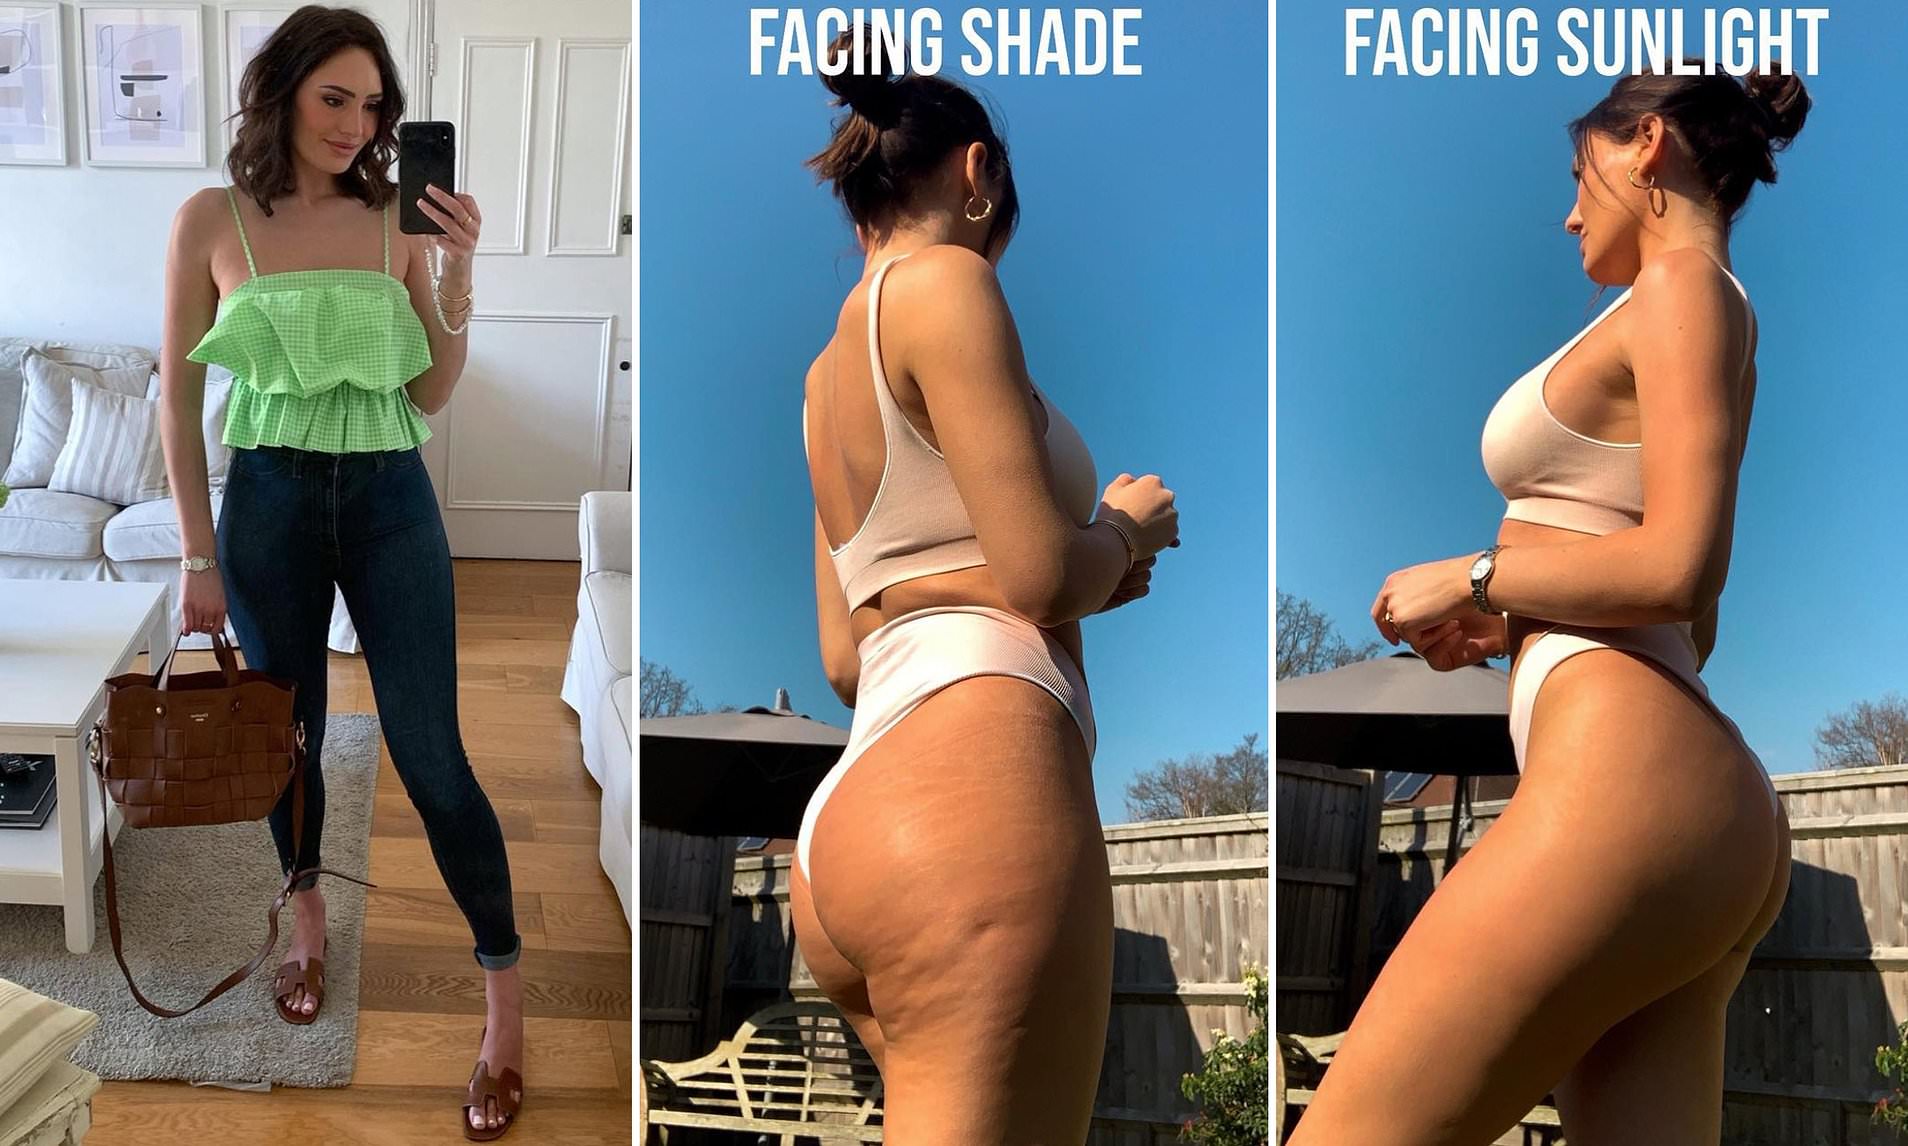
First thing I learned the hard way: lighting is everything. Seriously. I tried taking pics in my dimly lit bedroom at night, and everything just looked kinda… meh. Muddy, you know? Not flattering at all. It just made things look shadowy and weird. I quickly realized I had to figure out this light situation before anything else.
Finding the Light and the Angles
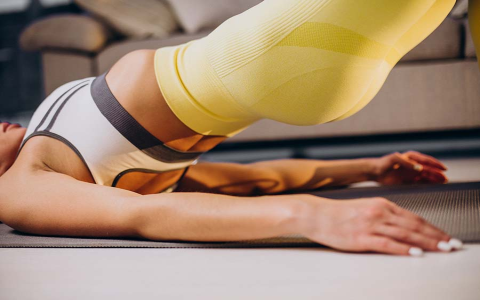
So, I started messing around with natural light. That window in my living room? Became my best friend. I’d wait for that soft, indirect sunlight. Not the harsh stuff that makes you squint, but that nice glow. I’d stand near it, sometimes facing it a bit, sometimes with it to my side, just to see what happened. Big difference, let me tell you. Suddenly things looked clearer, softer, just better.
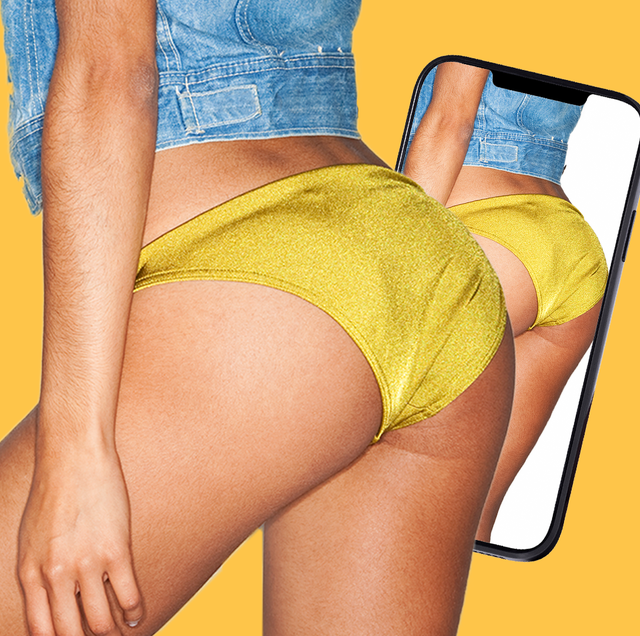
Then came the angles. Oh boy, the angles. Just pointing the camera straight back? Nope. Didn’t work for me. Made everything look kinda flat and uninteresting. So, I started to experiment. I’d try:
- Tilting my phone a bit, shooting slightly from below. That seemed to help a bit with the shape, gave it a bit more curve.
- Getting a little bit of a side view in there, not just straight on from the back. That added some dimension.
- That classic little back arch. You know the one. But you gotta be careful not to overdo it, or it just looks like you’re trying too hard, or you’re in pain or something. It’s a fine line, man, between a nice curve and looking like you’re about to snap in half.
Posing and Using the Timer
Standing stiff as a board? Also not great. I found that shifting my weight to one leg made a big difference. Sometimes popping a hip out a little, or putting one leg slightly in front of or behind the other. Little tweaks, you know? It’s all about finding what makes your shape look its best, and that’s different for everyone. I spent a good amount of time just moving around, trying different stances in front of a full-length mirror before even picking up the phone, just to see what felt and looked natural.
Now, how to actually take the pic without a helper, because let’s be real, I wasn’t asking anyone? The phone timer became my savior. I gave up on trying to twist around and see the screen while contorting myself. Too much hassle and the pics were always blurry or my arm was in a weird spot. I’d prop my phone up on a stack of books, a shelf, a windowsill – whatever was handy and at the right height. Then I’d set that 10-second timer. Gave me just enough time to hit the button and then get into position without rushing and looking all flustered or out of breath.
What to Wear (Or Not) and Checking the Shot
What you’re wearing, or not wearing, is a big part of it too. Some underwear just looks better in photos than others, cuts differently, or emphasizes things in a way you might like or dislike. Sometimes, honestly, nothing at all can be the way to go if that’s the vibe you’re after and you’re comfortable. I just tried a bunch of different things to see what felt right and looked good on camera for me. There’s no magic formula here, just personal preference and what makes you feel good.
And don’t expect to nail it on the first shot. Or the tenth. I’d take a whole bunch of photos, like, 20 or 30 at a time, trying slight variations. Then I’d sit down and actually look at them on a bigger screen if I could. What worked? What didn’t? Was my foot in a weird position? Was the lighting still off in that one corner? Then I’d go back and adjust. It’s a process of refinement, really. Patience is key; you’re not gonna get magazine-cover stuff on try number one.
Oh, and one last thing I learned, almost forgot! Always, always check your background! Seriously. You don’t want a great shot ruined by a pile of dirty clothes in the corner, an open closet door with junk spilling out, or your cat photobombing you at the last second (though sometimes that’s funny). A quick scan of what’s behind you saves a lot of groaning and cropping later. It’s the little details, you know? A clean, simple background makes a world of difference.
So yeah, that’s pretty much my journey with it. Lots of fumbling around, deleting tons of bad shots, but eventually, you start to figure out what works for you and your body. Just gotta be patient and keep trying things out. Don’t get discouraged if it’s tricky at first!


